|
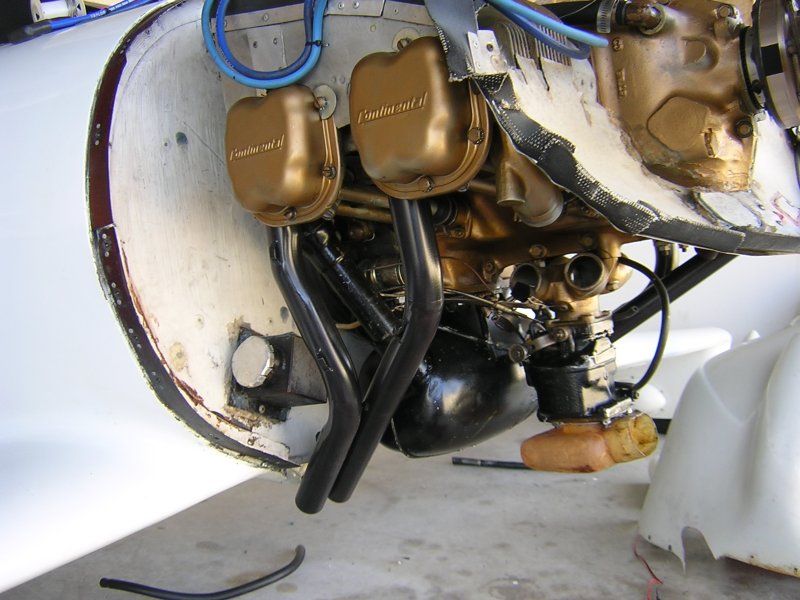
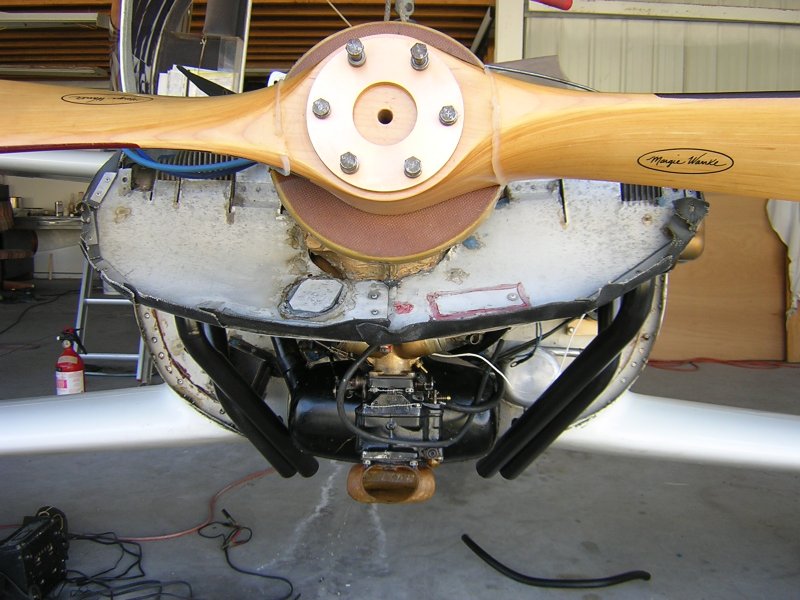
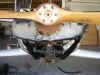
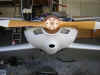
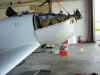
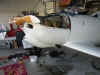
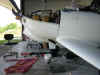
Below are some pictures of the exhaust
pipes I just finished... 5-30-05. I think they look real nice and
will let you know how they fly.
The old pipes were a 4 into 1 system where Cylinders
1 and 3 were piped around the front of the engine and joined with the
Cylinders 2 -4 on the left side of the engine into one output.
Having 2 pipes real long and 2 real short is bad. Also having 2
pipes travel all the way around the engine below the case is asking for a
hot running engine - particularly on taxi when there is little airflow
through the cowl. Getting the carburetor heat air to the carburetor
heat box was tough. It was constantly wearing out the scat hose
between the cowl and an exhaust pipe. Maintenance to any cylinder
required taking 2 intake tubes and all 2 exhaust attaches, a pain in the
butt!
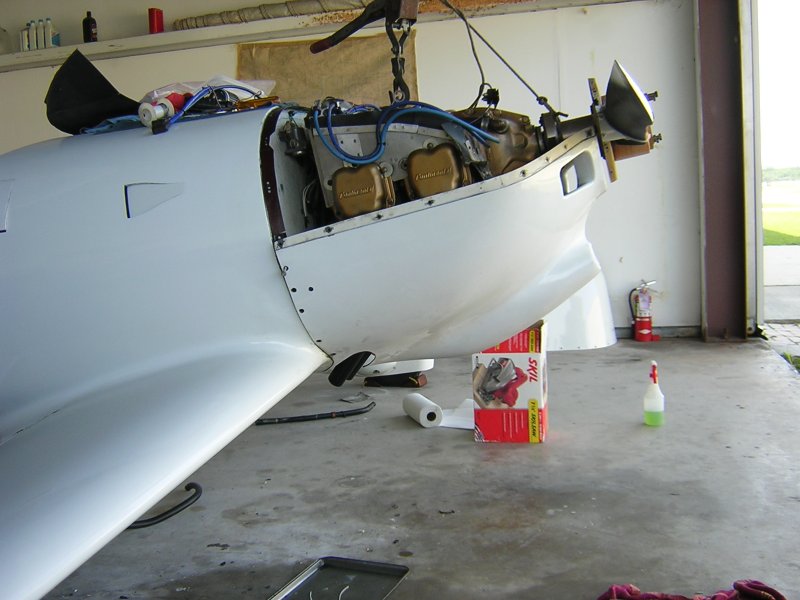
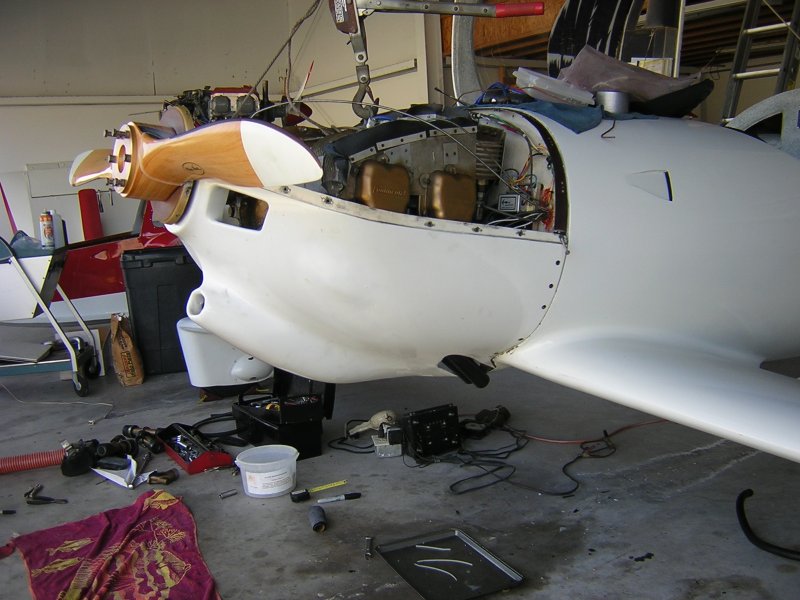
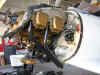
These new pipes are close to the same
length but are 4 into 4 so I don't think it will matter as much
anyway. They go directly out of the engine. They are ceramic
coated to keep the heat in the pipe (they say). Now any cylinder can
be pulled without a ton of work.
3-4-07 Update. Well I've flown these
pipes for nearly two years but only about 150 hours. They are doing
great. My oil temps are at around 170 on an 85F day here in Florida.
The ceramic finish is holding up well. No cracks, no worries.
The exhaust sound I'm told is different (from local pilots) they say the
plane sounds mean! Inside I don't hear any difference from the 4 into
1 that I removed.
How to build. I got 4 exhast flanges from
A.S. I bolted these flanges onto the airplane. I got some PVC
pipe that fit in the flanges. I heated up the PVC and bent it, cut
it, and glued it until I had the shape I wanted. I took the 4 PVC
pipes to Ice Cold Auto air and they bent some exhast pipe to match the
PVC. I had to re-do one of the pipes. Then I stuck the pipe in
the flange and when it was where I wanted it I glopped a bit of FLOX epoxy
on two spots of each pipe and let it cure. Then I carefully unbolted
the flanges and took the pipes to a welder. Might have cost all of
$50 to make. Then I sprayed on this Black cermaic coating.
12-10-2012. Still going fine.
5-11-2021. Still going fine.
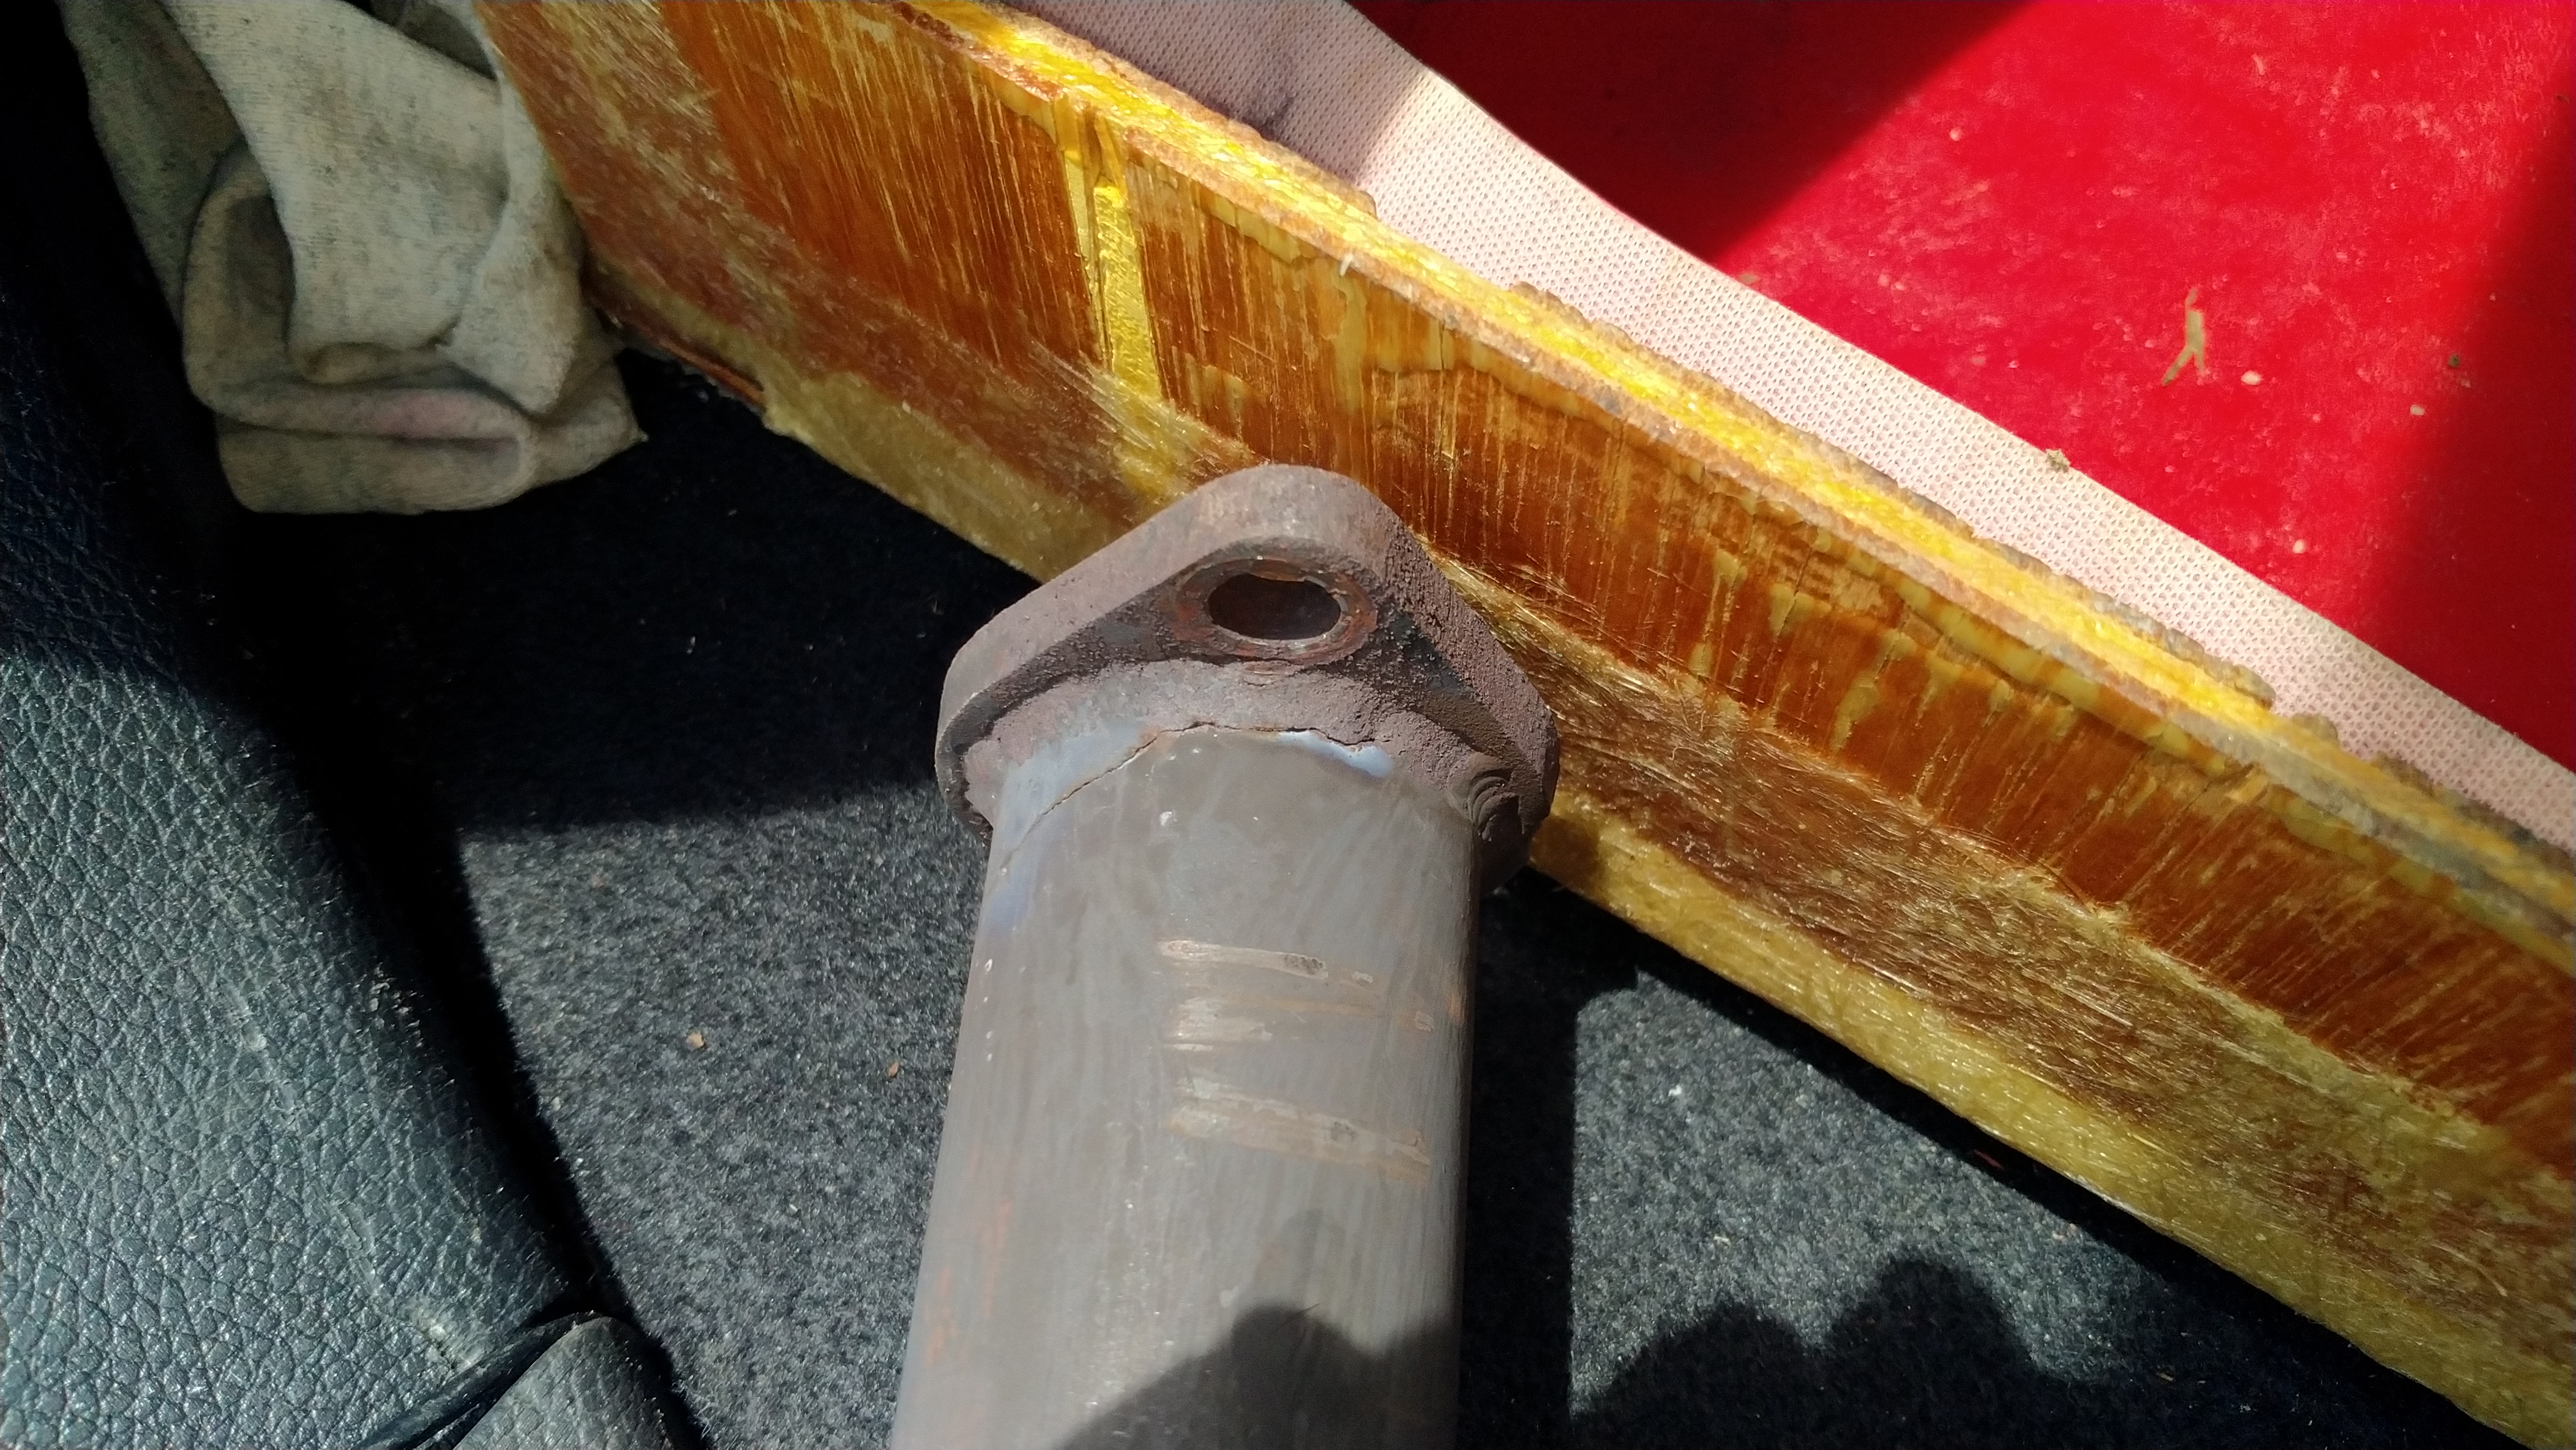
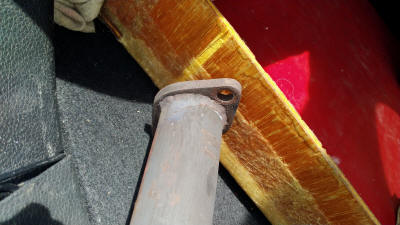
9-5-2021. #2 Pipe developed a crack near the
flange. I could hear this raspy sound when flying. No visable
leakage inside on the cowl. Oh well, 16 years isn't bad. The
steel is still in like new shape. Got it welded for $20.
Rating: SUCCESSFUL
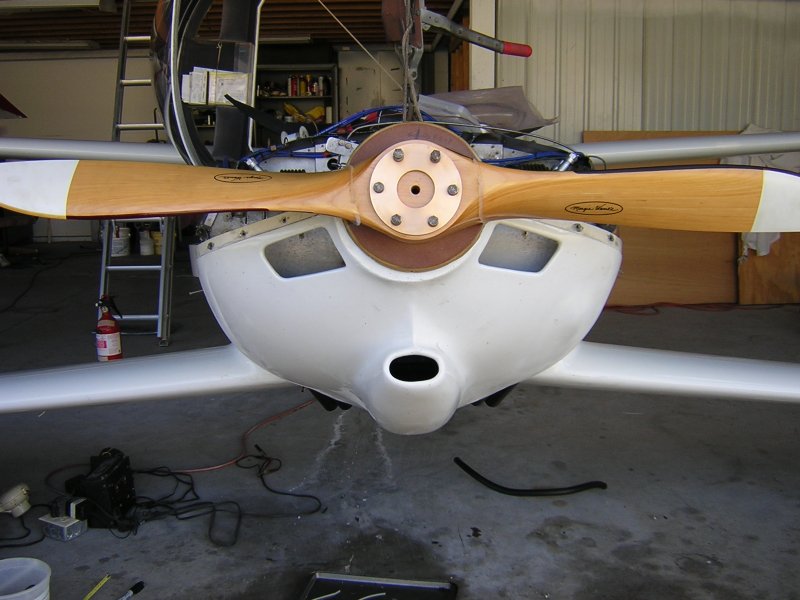
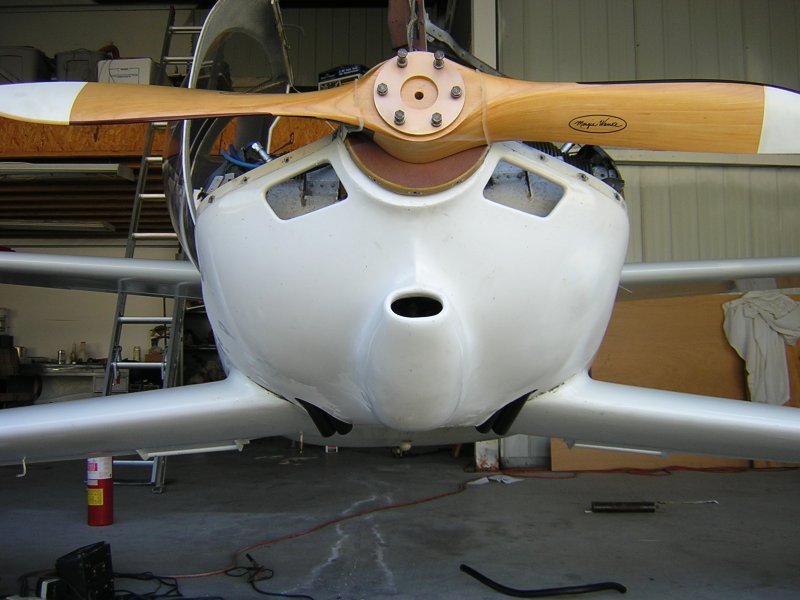
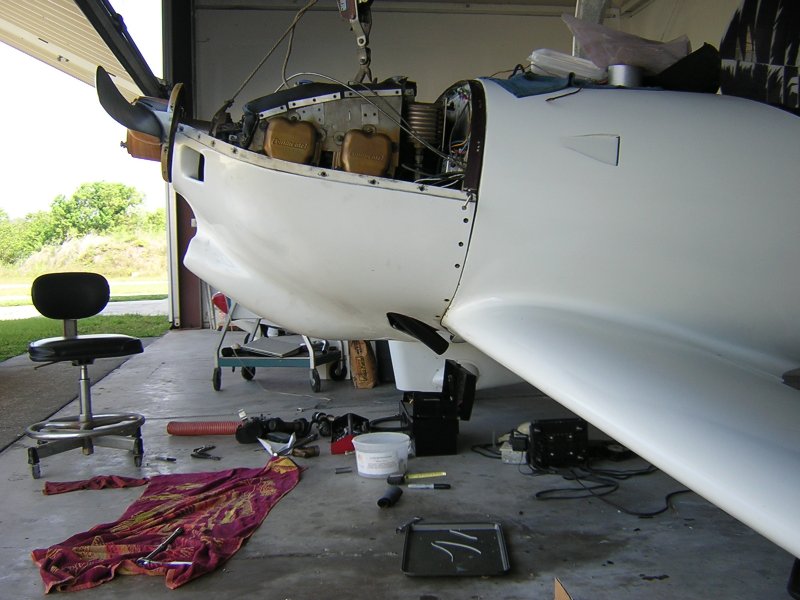
Q200 Exhaust Pipes. Click any picture
below for a big picture, then hit back on your browser...
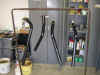


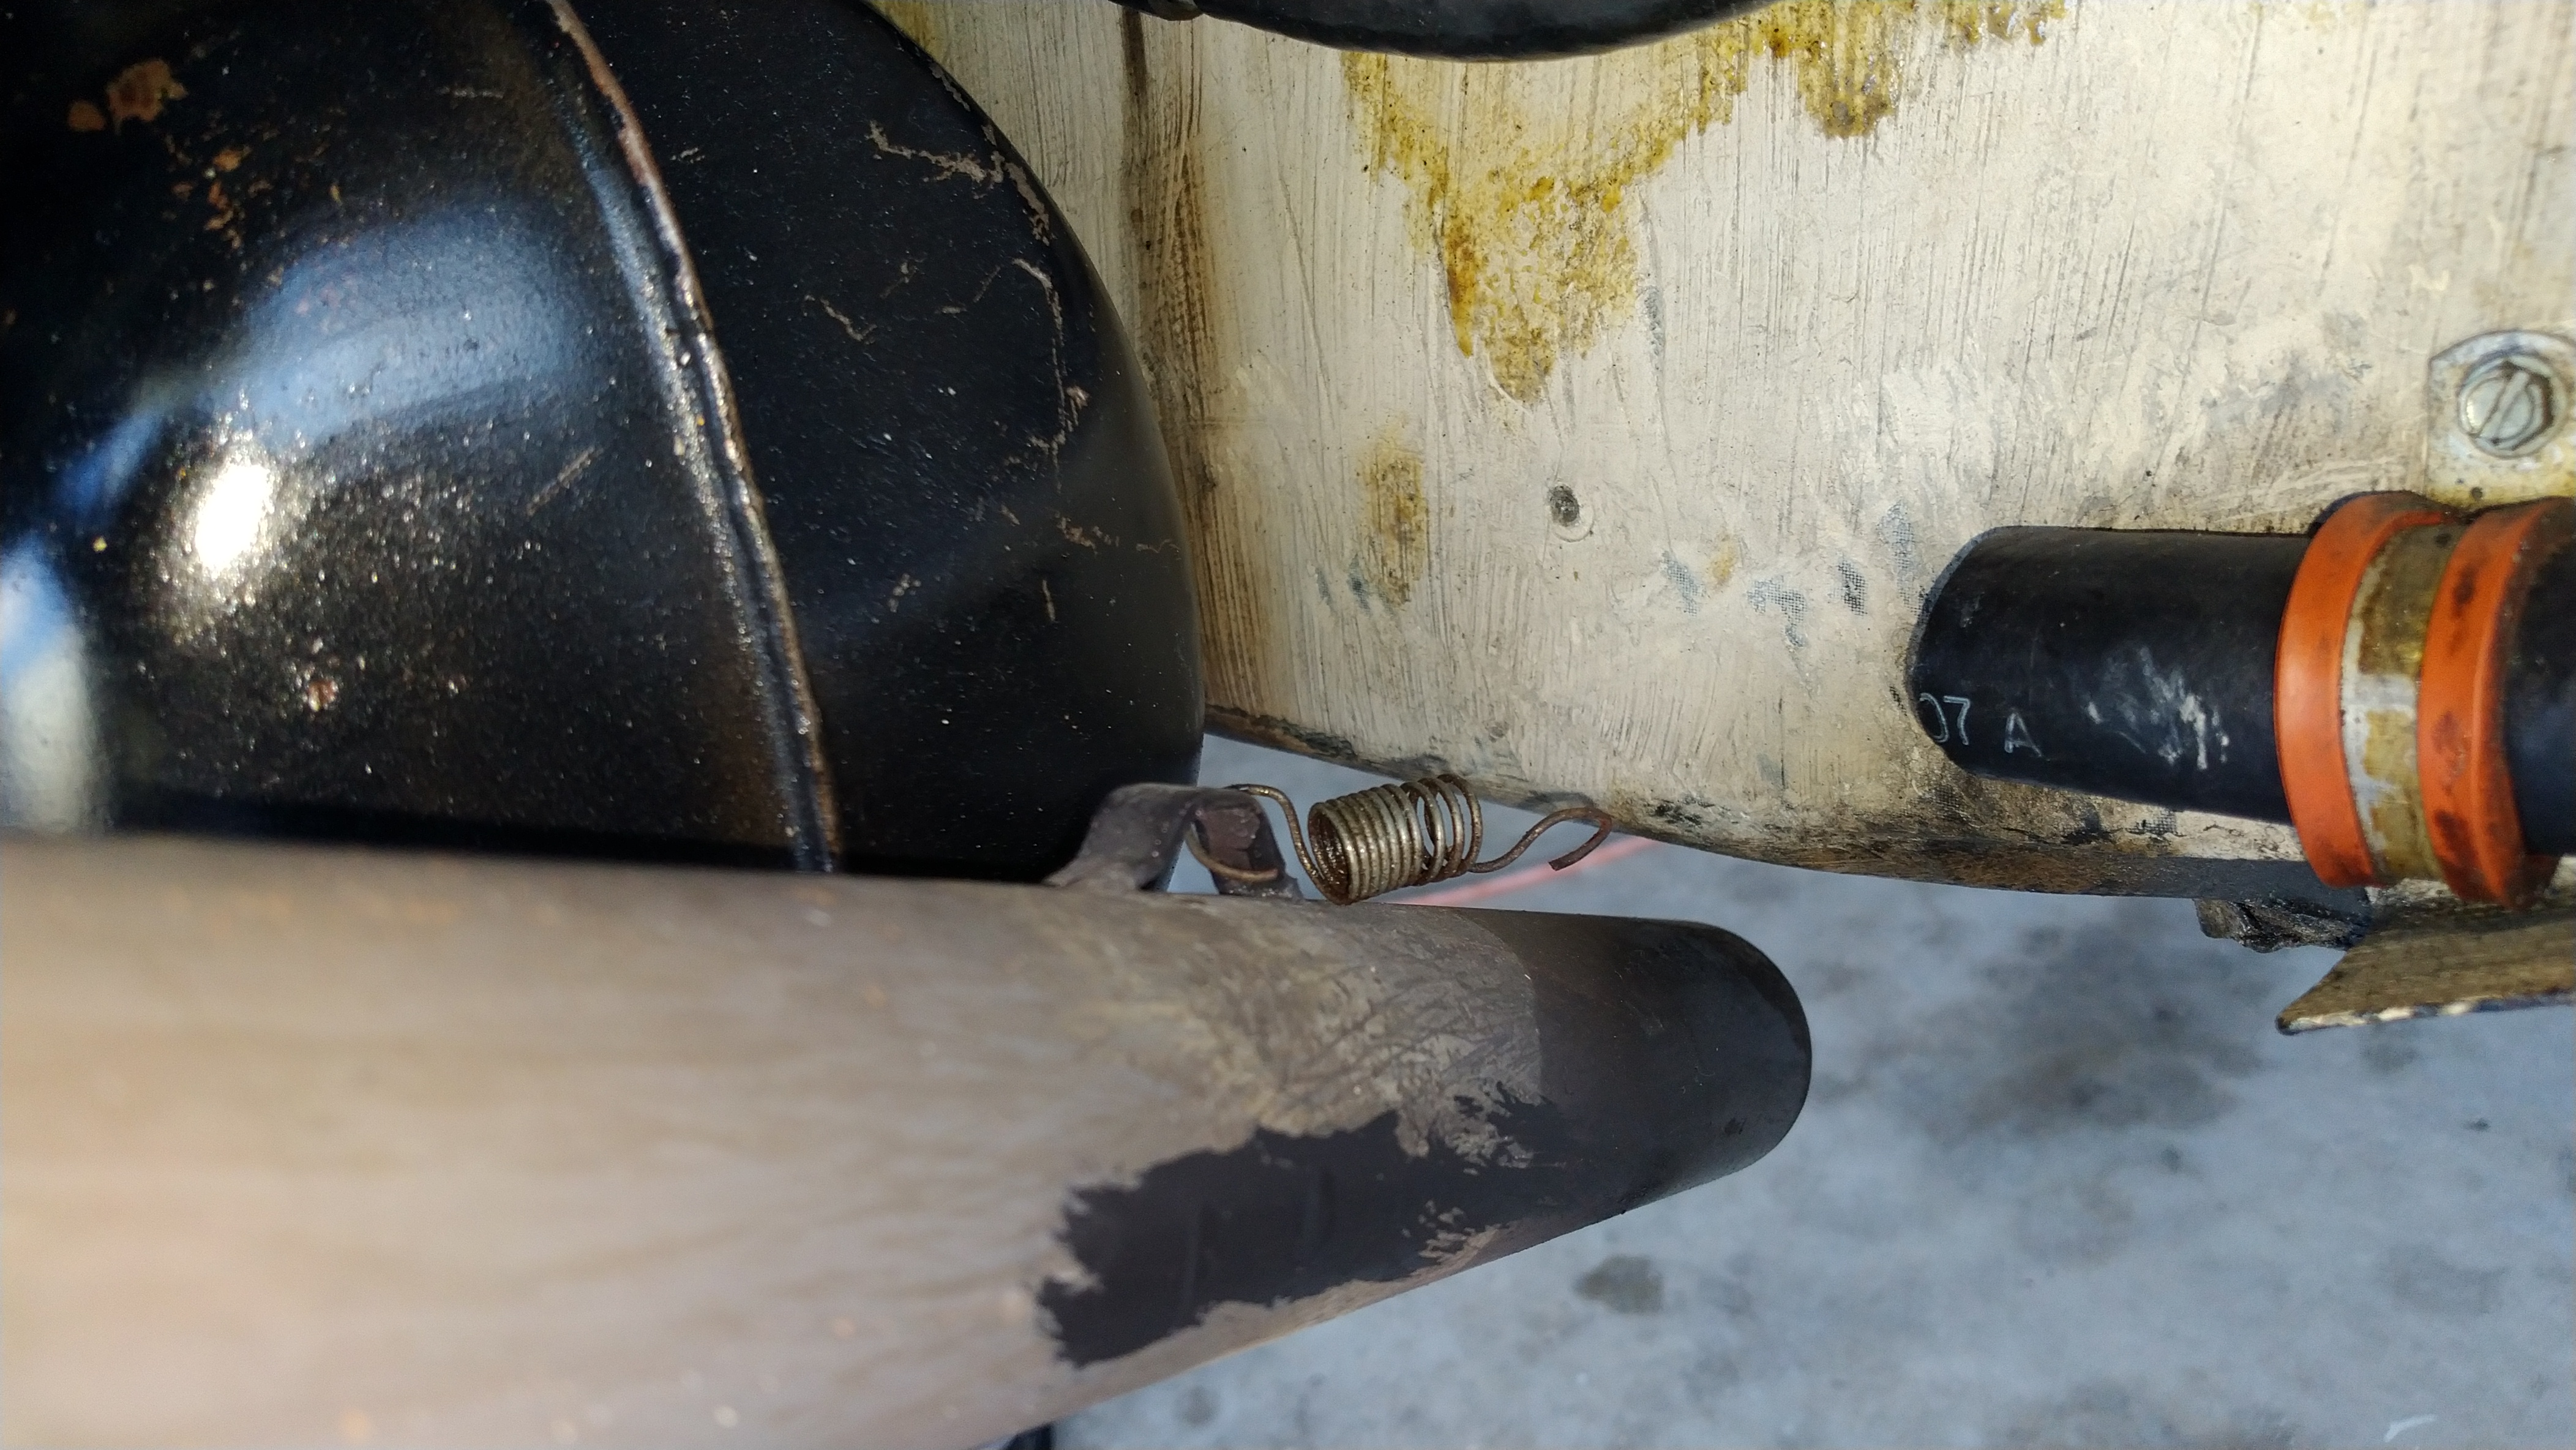
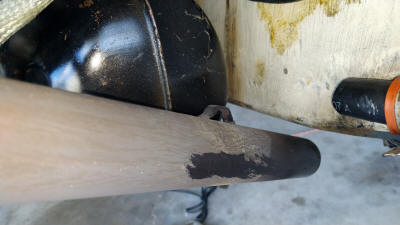
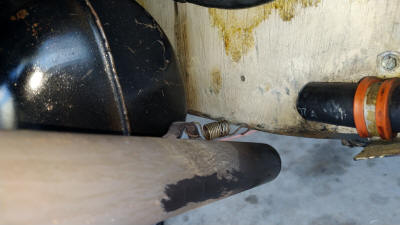
The Crack on #2 after 16 years and 420 hours. Also a photo of the
spring and attachents to the pipes to dampen vibration.

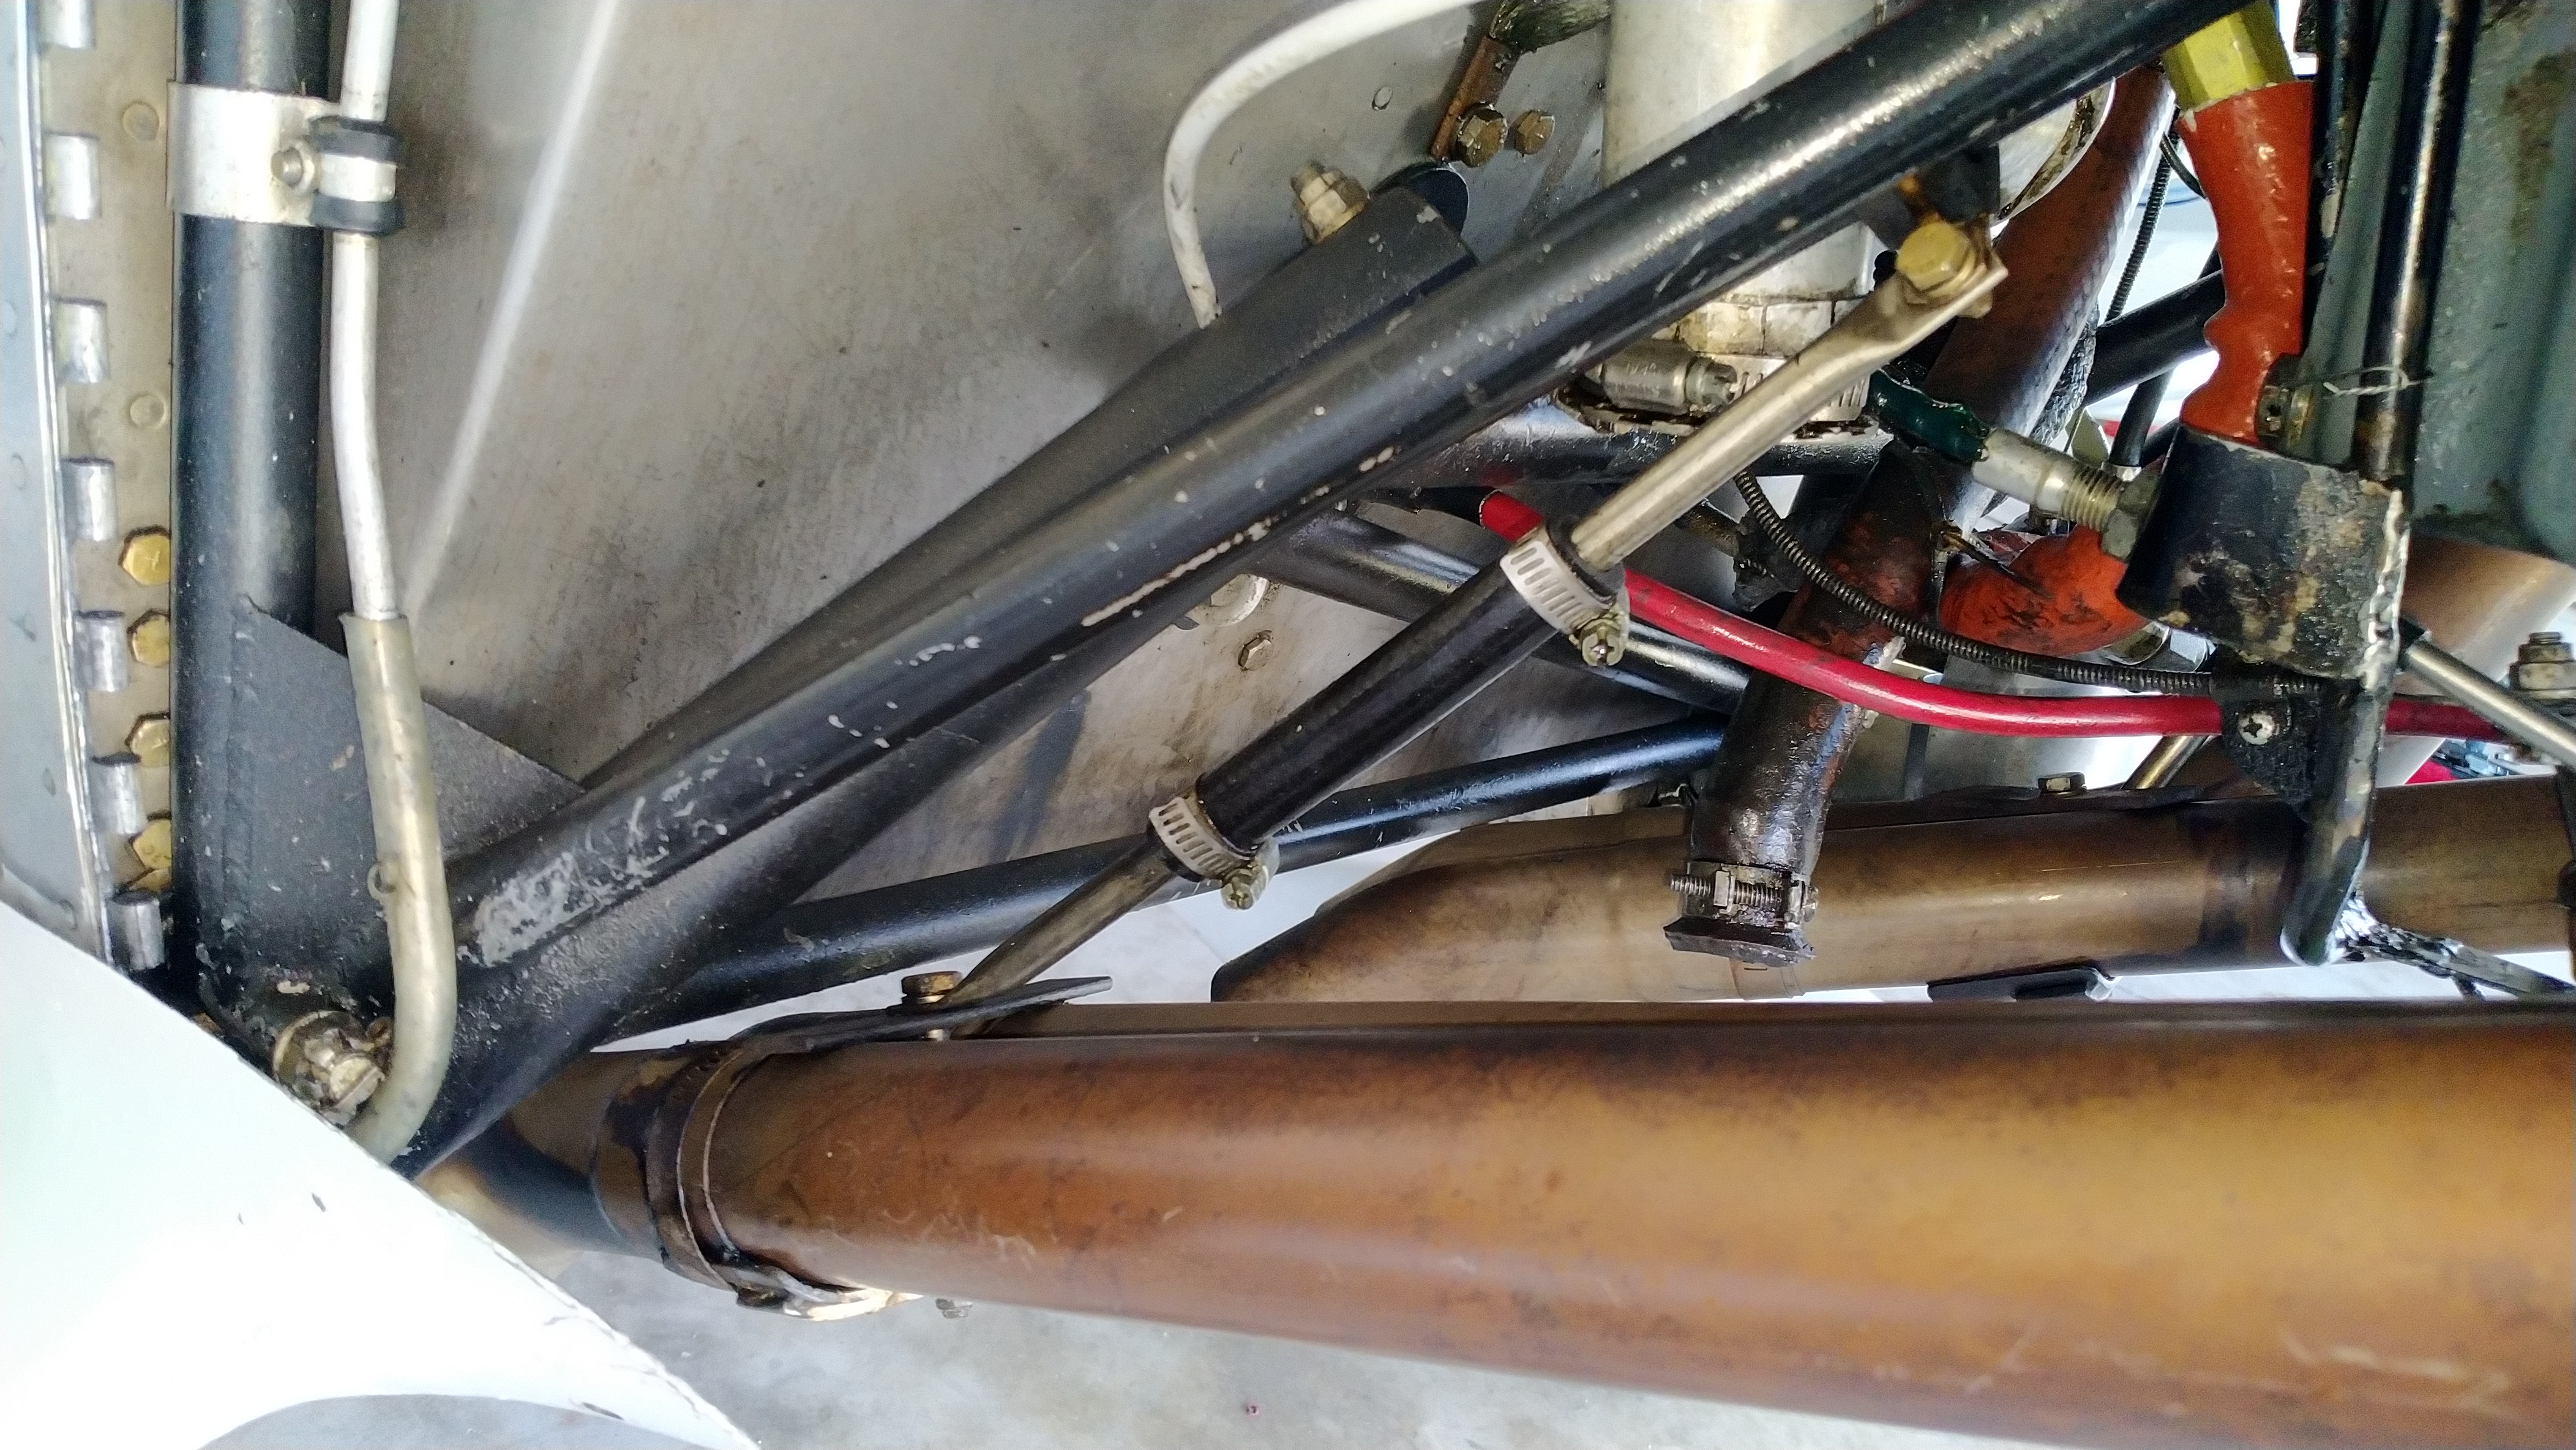
Next is how my buddys RV4 hangs the pipes.

 |